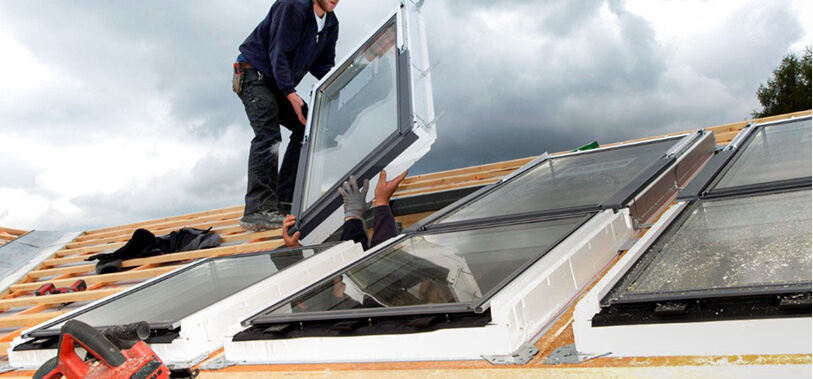
2FL has developed and patented a revolutionary new replacement window installation product and method called the Rain Jacket Flashing System. Our replacement window installation passes stringent AAMA pressure tests against water and air penetration required for condominiums and will withstand 120 MPH wind driven rain.

Our window installation has been tested in an AAMA certified laboratory to the following standards: 1. ASTM E-331 2. ASTM 1105.
These standardized tests simulate a wind driven rain storm equivalent to 62 miles per hour of wind pushing 8 inches per hour of rain at the openings for a solid hour with no let up. This was done without one single failure (or leak) . We then tested it at 120 mph and 8″ rain and again no failure. The truth established in the lab is that the windows themselves will start to leak water through the joints and around the glass before our installation will allow a single drop to penetrate into your walls or window openings!!!

Did you know recent studies have found that 8 out of 10 replacement window installations are installed incorrectly!
This information was provided from the executive director of AAMA and was gathered from building inspectors nationwide.

This method consists of cutting around the perimeter of the window, removing the existing window, cutting back the interior liners, install flashing behind the building paper, install a back pan, install head flashing, install high grade membrane. The benefit of this installation is it has three barriers against water and air infiltration, passes AAMA pressure tests, does not require trim, integrates to the existing building paper, and has never required a service call after 1000’s of windows installed. The downfall is it is time consuming and requires a lot of components. Average installation time 1.5 hrs. per window.
The first two window installations compromise the building envelopes WRB (Weather Resistant Barrier) because when the old window is removed the building paper that is over the nail fins is either cut or torn. The stucco fin installation does not disturb the WRB but because of the exterior fin creates a channel for water to track into the home. These installations rely on the caulking bead and any voids in it would be cause for water and air penetration at the windows and siding creating rot and mold.
This method consist of removing the glass and pulling the frame and nailing fins of the old window out from behind the existing siding. You then install the new fin-less window into the existing opening by screwing it from the inside and caulking it on the outside. The benefits of this type of window installation is that you do not disturb the existing siding or interior trim, so no wood trim is needed. The only materials needed are screws and caulking. This window installation is very common in the window industry because it is quick and easy. The down fall is the installation relies on a exterior bead of caulking that can crack and allow water and air into the walls and windows. This window installation is not recommended in a high exposure areas. Average installation time 30 – 45 minutes per window
This method consists of cutting around the perimeter of the window, removing the existing window, cutting back the interior liners, installing self adhering membrane, installing the new window with nail fins, then installing trim around the window. The benefits of this window installation is that the nailing fin is utilized and will divert water from the opening. The down fall is that it does not integrate to the existing building paper, requires exterior wood trim, and is more expensive than the glue and screw method. Average installation time 1 hr. per window.
This method consist of removing the glass and leaving the frame of the old window in the opening. You then install the new stucco fin window into the existing opening by screwing it from the inside and caulking the stucco fin to the wall. The downfall of this is that the window will rest inside of the old window frame so the window will be much smaller then the old window, it will need interior trim, and it relies on a caulking bead. The benefits of this type of window installation is that it is quick and easy and requires only screws and caulking. Average installation time 30 minutes per window.


Window rebates of $50.00 per window up to $750.00 per fully insulated home when upgrading your windows to energy-efficient replacement windows with a U-factor of .30 or better.

Read the latest articles about roofing, windows, siding, and other general contractor topics of interest.