Published on: March 22, 2024

When it’s time to replace vinyl windows on your home, you might be wondering whether you can complete the task yourself. Most professionals will tell you that this is not a DIY project unless you have prior experience with it or your best friend is a window contractor who is ready to help you.
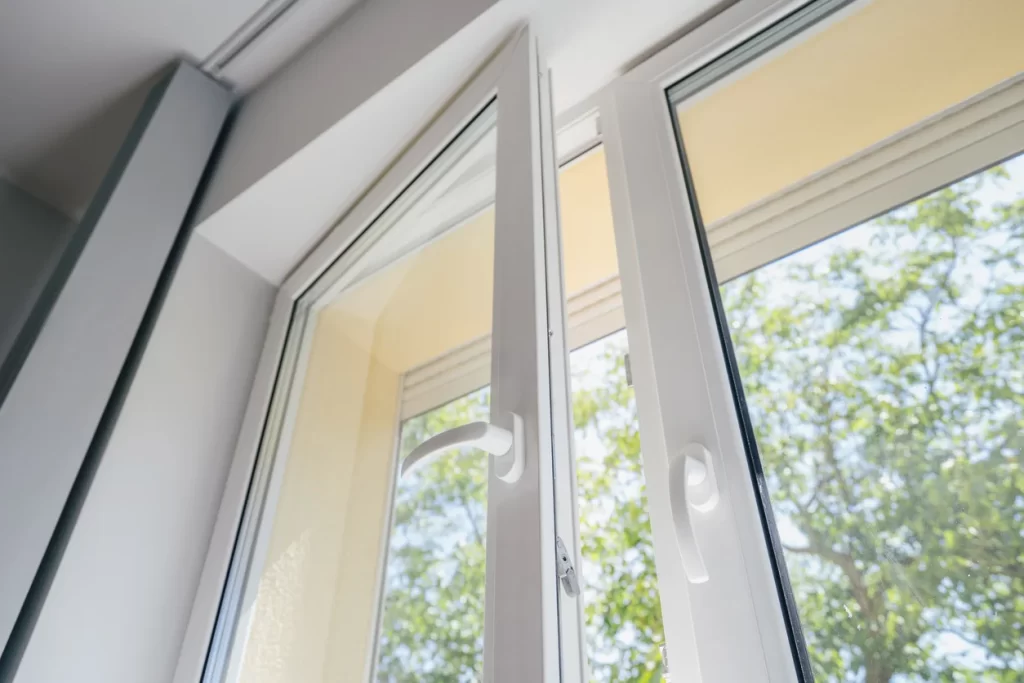
That’s because windows aren’t just pretty pieces of glass that let natural light into your home and offer curb appeal. They are a crucial element of protecting your home from moisture and pests as well as offering energy efficiency.
But if you’re handy and know a few things about window replacement, here’s a look at how to replace the windows on your home. Follow this guide carefully to ensure your home has the protection it needs.
Typically, homeowners stand to save up to $500 per year when all their windows are energy efficient. Maintaining modern windows is important, but you don’t want to start this project yourself on a whim.
You should read this list of steps carefully several times before starting the project. That way, you know what to expect and have the necessary materials so you don’t have to leave a gaping hole in your home while you run to the hardware store.
Here’s a look at what you’ll need and how to prepare for replacing vinyl windows.
Spend some time measuring your existing windows. Most windows fit standard sizes but some windows are custom. To get an accurate measurement, remove the outer trim around your windows and measure the casing’s height and width.
Measure several times to ensure accuracy. You don’t want to get started with this project and realize you have the wrong window sizes because that will be a costly and complex mistake.
To replace vinyl windows on your own, you will need the following tools and materials:
Be picky when it comes to what windows you select. Read reviews, check on longevity, learn about warranties and more. You want to ensure the windows will fit your lifestyle, such as whether they are easy to clean and operate. That way, you know you won’t regret your decision later.
Check on how the warranty works if you install them yourself. Some warranties require that a licensed professional complete the work. Consider that when evaluating whether installing the windows yourself makes sense in the full cost of ownership.
Once you have your materials, you’re ready to start the process by removing the old window. To do so without damaging other parts of your home, you should remove all interior trim. Then lift the windowpane to expose the screw holes. Or when replacing older windows with nails, cut the nails with a reciprocating saw by sliding the blade in between the wood casing and window frame. Once you’ve removed the fasteners – whether screws or nails – remove the window from its opening.
Once the old window is no longer in the wall, you can inspect the casing to ensure that it is in good shape. If you find issues with the casing, you might need to replace that as well. Very old homes or homes that were poorly built often need new window casings.
To replace the casing, scrape away the old caulking and insulation. Remove broken nails or screws and clean the area thoroughly. Once clean and dry, place a thick bead of silicone caulking around the casement.
Start by testing the new window’s fit in the opening. If it’s a good fit, use a caulking gun around the exterior window’s surface. Ensure the window is centered in the frame and press it against the exterior stops. You might see small gaps around the frame. That’s appropriate but you want to ensure those gaps are even on every side. Measure the gaps with a tape measure to be sure.
Fill gaps with shims and insulation. Once you’ve completed this, your window should fit snugly while still allowing for proper operation.
Place the mounting screws with the window open. The screws go through the shims in the frame. To do this, you’ll need to drill pilot holes in the shims so they don’t break when placing the screws. While installing the screws, avoid overtightening, which might put the frame out of alignment.
Once you have the window secured, you might see gaps around the shims. You need to fill those gaps with insulating material. Most installation teams use expanding foam or backer rods. Loose insulation and fiberglass batting are not the right tools for this job because they don’t go into small spaces to fill them out well.
Install the interior window stops. If your old windows had these, just be sure to replace them if you find they are no longer in good condition.
If you’re looking to get a certain color or aesthetic from the window, you can paint it. Then reinstall your interior trim around the window and fill nail holes and paint for a finished and polished appearance.
Before you get started with replacing vinyl windows yourself, consider these reasons paying a professional window installation contractor might make more sense.
2FL Windows, Siding and Roofing offers outstanding window installation services so you know the job was done right to offer the greatest energy efficiency and indoor comfort. Schedule your free in-home estimate today to get your project started.
Further Reading:
Comments are closed.

Read the latest articles about windows.


[…] Replacing window is a significant investment, and you want your new window look great and last longer. While you are likely to get them on cheaper rates, bargain windows may not of that quality. Frankly speaking, a high-quality window will cost you more. […]
[…] So what features they look in a window? Why each criterion does matter? Based on their evaluation, here we have come up with this guide to help you make the right decision when it comes to replacing windows. […]
[…] Simple Steps To Replace Vinyl Windows Yourself […]
[…] Simple Steps To Replace Vinyl Windows Yourself […]
[…] Simple Steps To Replace Vinyl Windows Yourself […]
[…] Simple Steps To Replace Vinyl Windows Yourself […]
[…] Simple Steps To Replace Vinyl Windows Yourself […]
[…] Simple Steps To Replace Vinyl Windows Yourself […]
[…] Simple Steps To Replace Vinyl Windows Yourself […]
[…] 7 Steps to Replace Vinyl Windows Yourself […]